
DIY Guide to Finding and Fixing Roof Leaks
You know that sound. Drip. Drip. Drip. It starts during a heavy rain, and your heart sinks because you know exactly what it means. A roof leak. I've been crawling around attics and scaling roofs for over a decade, and let me tell you—that sound never gets less annoying. But here's the good news: most roof leaks are fixable by a reasonably handy homeowner. You don't need to be a professional roofer, and you definitely don't need to panic.
Look—I've seen leaks that looked like the end of the world but turned out to be a single loose shingle or a tiny crack around a vent pipe. The trick is knowing where to look and what to do once you find it. This DIY guide to finding and fixing roof leaks will walk you through the process step by step, from spotting the source to making a repair that actually holds up.
Understanding Why Roof Leaks Happen (And Why They're Tricky)
Water is relentless. It finds the smallest gap, the tiniest crack, and it exploits it. Seriously, water can travel horizontally along a roof deck for feet before it finally drips down into your living room. That's why the stain on your ceiling might be three feet away from the actual leak point. It's a big deal.
Most roof leaks happen for a few common reasons. Flashing failures are the number one culprit—those metal pieces around chimneys, vents, and skylights. They rust, they crack, or the sealant around them dries out. Next up are damaged or missing shingles, often from wind or hail. Then you've got issues around roof valleys, where two slopes meet, and finally, problems with ice dams in colder climates.
Honestly? The hardest part of the entire process is finding the leak. Fixing it is usually straightforward once you know what you're dealing with. But if you go up there blind, you'll waste time and possibly make things worse. So let's get methodical.
The Indoor Investigation: Start Inside, Not on the Roof
Before you even think about climbing a ladder, go to your attic. This is where the detective work begins. Bring a flashlight, a screwdriver, and maybe a spray bottle of water. If it's raining, even better—you can see the leak in action.
Head to the area directly under the ceiling stain. Look for water stains on the rafters, the underside of the roof deck, or the insulation. Wet insulation is a dead giveaway. Push it aside carefully. You're looking for dark streaks, mold, or actual dripping water. Mark the spot with a piece of chalk or a nail.
Here's a trick I use all the time: if the leak isn't active, simulate rain. Have a helper spray water on the roof with a garden hose while you stay in the attic with the flashlight. Start low and work your way up. The moment you see water appear, you've found your entry point. This method works for about 80% of hidden roof leaks.
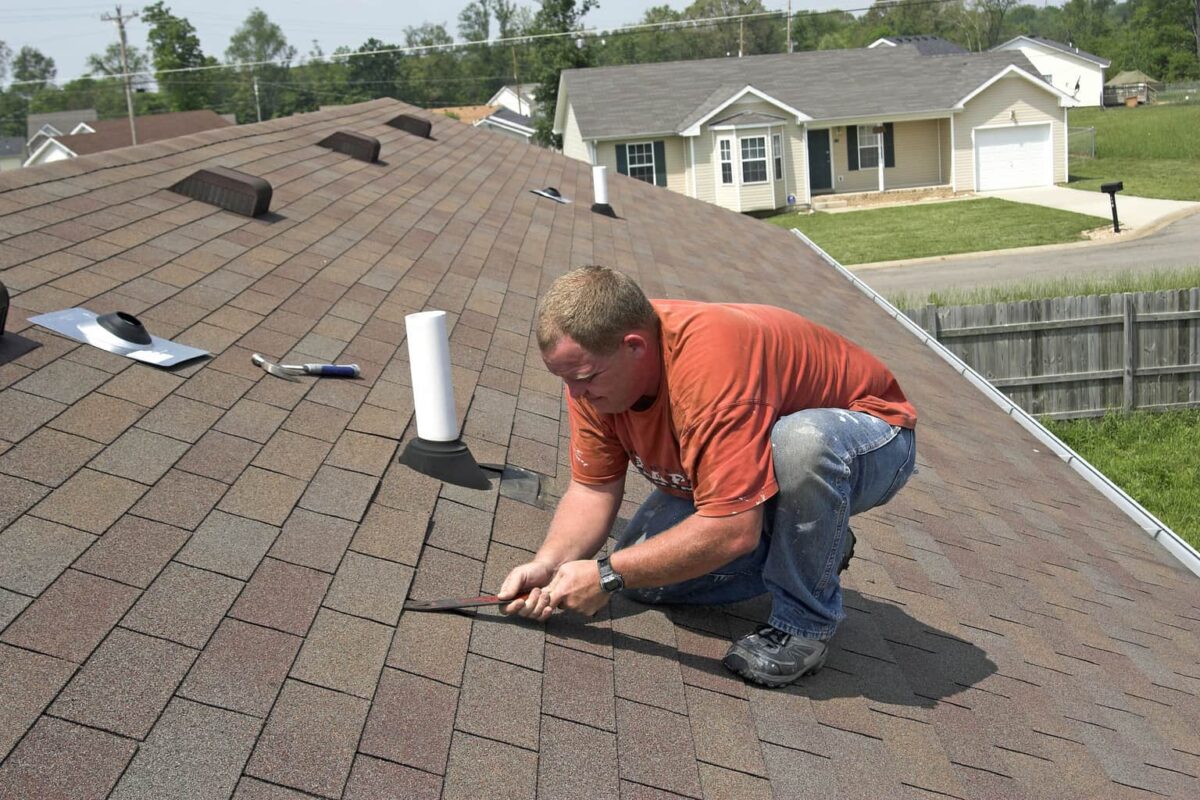
The Outdoor Inspection: Getting Up Close and Personal
Once you have a general idea of where the leak is coming from, it's time to get on the roof. Safety first—always. Use a sturdy ladder on level ground, wear shoes with good grip, and never work on a wet or icy roof. If your roof is steep or more than two stories high, honestly? Call a pro. It's not worth the fall.
When you're up there, start at the area you marked in the attic and work outward in a 10-foot radius. Look for the obvious stuff first:
- Missing or curled shingles that expose the underlayment - Cracked or rusted flashing around vents, pipes, and chimneys - Gaps or holes where the roof meets a wall - Debris buildup in valleys or around skylights
I once spent two hours on a roof looking for a leak that turned out to be caused by a single roofing nail that had backed out a quarter of an inch. It's always the small stuff. Use a putty knife to gently lift shingles and check for popped nails or damaged underlayment. If you find a suspect area, mark it with chalk.
Fixing Common Roof Leak Issues
Alright, you found the problem. Now what? The fix depends entirely on what you're dealing with. Don't just slap some tar on it and call it a day—that's a temporary bandage, not a repair. Let me walk you through the three most common fixes.
Repairing Damaged or Missing Shingles
This is the easiest fix, and it's something every homeowner should know. If you have a single cracked or curled shingle, you can often just glue it down with roofing cement. Apply a dab under the curled edge, press it flat, and weigh it down with a brick for a few hours.
For a missing shingle, you'll need a replacement. Slide the new shingle into place, but here's the key: don't nail through the face of the shingle. You nail through the top edge, under the overlap of the shingle above it. Seal the nail heads with a dab of roofing cement. It's a simple repair, but it's effective for decades if done right.
If you've got a whole section of damaged shingles, you might be looking at a bigger job. But for a single leak point, this is your go-to. Seriously, I've fixed dozens of leaks this way in under 30 minutes.
Fixing Flashing Failures Around Vents and Chimneys
Flashing is where most roof leak repairs go wrong. The metal pieces themselves are usually fine—it's the sealant that fails. Over time, the caulk around the base of a vent pipe or along a chimney cracks and shrinks. Water gets in, and you get a leak.
Start by scraping away the old, dried-out sealant with a putty knife. Clean the area thoroughly. Then apply a high-quality, paintable exterior caulk or roofing cement. For chimney flashing, you might need to replace the counter-flashing—the piece that's embedded in the mortar. That's a bit more advanced, but for most vent pipes, a fresh bead of sealant is all you need.
One pro tip: don't use silicone caulk on roofs. It doesn't stick well to asphalt or metal over time. Use a polyurethane or butyl-based roofing sealant. It costs a few bucks more, but it lasts years longer.
Dealing with Roof Valleys and Ice Dams
Roof valleys are where two slopes meet, and they're a common leak point because water concentrates there. If you see a leak in a valley, check for debris buildup. Leaves and twigs can trap water and cause it to back up under the shingles. Clean the valley out, then inspect the metal flashing underneath. If it's rusted through, you'll need to replace it—that's a job for a pro in most cases.
Ice dams are a whole different beast. They form when heat from your attic melts snow on the roof, which then refreezes at the eaves. The ice buildup forces water under the shingles. The fix isn't on the roof—it's in your attic. Improve insulation and ventilation to keep the roof deck cold. You can also install heat cables along the eaves as a temporary measure.
Essential Tools and Materials for DIY Roof Repairs
You don't need a truck full of gear, but having the right stuff makes the job infinitely easier. Here's my shortlist of must-haves for any DIY roof repair:
- Ladder stabilizer to avoid damaging gutters - Flat pry bar for removing shingles - Hammer or roofing nail gun - Roofing nails (1 ¼ inch for shingles) - Roofing cement (tube or can) - Putty knife for applying cement - Utility knife for cutting shingles - Chalk line for marking straight cuts - Safety harness if your roof is steep
Don't skimp on the safety gear. I've seen too many DIYers take a tumble because they thought they'd be fine without a harness. You won't be fine. Spend the $50 on a basic harness and rope. It's cheap insurance.
Common Questions About DIY Guide to Finding and Fixing Roof Leaks
How do I find a roof leak without going into the attic?
If you can't access the attic, start by inspecting the roof from the ground with binoculars. Look for obvious damage like missing shingles or gaps around flashing. Then, during a rainstorm, watch where the water appears inside and trace it back. You can also use a moisture meter on the ceiling to pinpoint the wettest area.
Can I fix a roof leak from the inside?
Sometimes, yes. If the leak is coming from a small hole or crack in the roof deck, you can apply roofing cement or a patch from the attic side. But this is usually a temporary fix. The real repair needs to happen on the exterior to prevent water from getting in again.
How much does it cost to fix a roof leak professionally?
Professional repairs range from $150 to $600 on average, depending on the complexity. A simple shingle replacement might be $200, while a flashing repair around a chimney can run $500 or more. DIY repairs cost you just the materials—usually under $50.
When should I call a professional instead of DIY?
Call a pro if your roof is steep, more than two stories high, or if the leak is caused by structural damage like rotted decking. Also, if you've tried two or three repairs and the leak keeps coming back, you're missing something. A professional has the experience and tools to find hidden issues.
How long does a DIY roof leak repair last?
A properly done repair using quality materials can last 5 to 10 years. Shingle replacements can last as long as the rest of the roof. But if you use cheap caulk or skip the prep work, you might be back up there next season. Take your time and do it right the first time.
Finding and fixing a roof leak isn't rocket science, but it does require patience and a methodical approach. Start inside, work your way out, and don't rush the repair. A little bit of effort now saves you from a lot of water damage later. And honestly? There's a deep satisfaction in stopping that drip with your own two hands.