
How to Generate a Contour Map from Point Data in AutoCAD
I remember my first big site visit. Fresh out of school, armed with a total station and a whole lot of misplaced confidence. I shot four hundred points across a muddy field, went back to the office, and stared at a screen full of dots. Just dots. No shape, no logic, no clue how the land actually looked. It felt like I had the answers but couldn't read them. That's the moment you realize that raw XYZ data is useless without a good workflow. Generating a contour map from point data in AutoCAD isn't just about clicking a button—it's about understanding the terrain you're trying to recreate.
Seriously, if you've ever tried to fudge your way through a topographic map, you know the pain. The software gives you a mess of jagged lines, and you're left wondering if the site actually has a 50-foot cliff or if you just forgot to clean your data. Look—I've been doing this for over a decade. I know the shortcuts, the gotchas, and the “oh crap” moments. This guide is going to walk you through the entire process, from raw points to a clean, readable contour map, using nothing but AutoCAD and its built-in tools.
Why Raw Point Data Is Just the Beginning
Most people think the hard part is collecting the points. Honestly? The hard part is making sense of them. A point data set from a field survey is like a box of puzzle pieces without the picture on the box. You have X, Y, and Z values, sure, but those coordinates are just numbers until you tell the software how they connect. If you try to jump straight to a contour command without organizing your data, you'll get garbage. Garbage in, garbage out. It's a big deal.
The first step is understanding your data source. Did you pull these points from a LiDAR scan? A GPS rover? Old paper maps digitized by hand? Each source comes with its own quirks. LiDAR data is dense and noisy. GPS data can have vertical outliers if the satellite geometry was bad. Hand-digitized data? Well, let's just say someone's shaky coffee hand can create a phantom hill. I always recommend plotting your raw points as a simple point group first and visually checking for anomalies. Seriously—zoom in, pan around, and look for that one lonely point at 500 feet elevation when everything else is at 200.
Once your points are clean, you need to decide on the interpolation method. AutoCAD Civil 3D uses Triangulated Irregular Networks (TIN), which basically connects all your points into a mesh of triangles. Each triangle represents a flat plane between three known elevations. The contour lines are then drawn by tracing where that plane hits specific elevation values. It sounds math-heavy, but the software does the heavy lifting. Your job is to make sure the input data is dense enough to capture the real features of the land. A flat parking lot needs fewer points than a rolling hillside with drainage swales.
Another thing nobody tells you: the order of your points matters. If you dump them in a random sequence, the TIN surface can cross itself and create those weird, spiky artifacts that look like alien geography. Always import your points in a logical sequence or let AutoCAD sort them by location. It's a simple step, but it saves you hours of surface repair later. Trust me.
Importing Points: CSV vs. ASCII vs. Survey Databases
AutoCAD is picky about how you feed it information. I've seen engineers spend an hour wrestling with file formats when they could have just changed a comma to a space. The most common format is a simple CSV file with columns for Point Number, Northing (Y), Easting (X), and Elevation (Z). But here's the kicker: the order of those columns has to match what AutoCAD expects. If your file has Easting first and Northing second, you need to tell the software that or your contour generation will be rotated 90 degrees and miles off.
For most of my projects, I use the standard PNEZD format (Point, Northing, Easting, Z, Description). The description column is optional, but I always include it. Why? Because later, when you see a contour line doing something weird, you can check if that point was labeled “tree base” or “manhole cover” and decide whether to include it in the surface. A manhole cover is a hard surface feature; a tree base is a biological anomaly that shouldn't influence the ground model. Use that description field as a filter. It's a lifesaver.
If you're working with a survey database from a data collector, you can usually export directly into AutoCAD's native format. But I still prefer a manual CSV import because it forces me to eyeball every row. Yeah, it takes a few extra minutes, but it beats rebuilding a surface because a decimal point was in the wrong spot. Contour maps are only as good as their underlying data, and data hygiene is the first step toward a clean elevation model.
Look—I know this sounds tedious. I get it. You want to skip to the pretty lines. But if you rush the import, you'll spend more time deleting bogus contours than you would have spent checking your file initially. I learned this lesson the hard way on a $2 million grading project. Don't be me. Be the person who double-checks the CSV delimiter.
Cleaning and Organizing Your Point Cloud
Even after a proper import, your point data is probably messy. Field crews make mistakes. GPS units drift. Sometimes a bird flies through the laser path. You need a strategy to clean this mess without losing good data. The first tool I reach for is AutoCAD's “Point Cloud” tools, but if you're working with surveyed points (not a cloud), you'll use the “Points” menu. Create a point group and apply filters. Filter by elevation range to catch obvious outliers. Filter by description to separate hardscape from ground.
I also like to visually inspect the point density. A good contour map needs a minimum of three to five points per contour interval in areas of changing slope. If you have a steep ravine with only two points, your contour lines will be educated guesses at best. You can either collect more data or accept the interpolation uncertainty. In the real world, we often accept the uncertainty and add a note on the drawing. Clients appreciate honesty more than a fake-looking smooth contour.
Another pro trick: create a simple 3D polyline that follows what you think the ridge lines and valley lines should be. Then use those as breaklines in your surface definition. A breakline forces the TIN triangles to align along that line, preventing the surface from crossing a ridge or a drainage ditch. Without breaklines, your topographic map will show water flowing uphill. I've seen it happen. It's embarrassing. Adding breaklines is probably the single most impactful thing you can do to improve your contour output.
Finally, delete duplicate points. You'd be surprised how often a crew shoots the same location twice because they forgot they already did it. Duplicates cause tiny, useless triangles in the TIN that create jagged contour line noise. Use the “Overkill” command or a simple LISP routine to strip duplicates at the same XY within a small tolerance. Your surface model will thank you.
Creating the Surface Model: The Heart of the Process
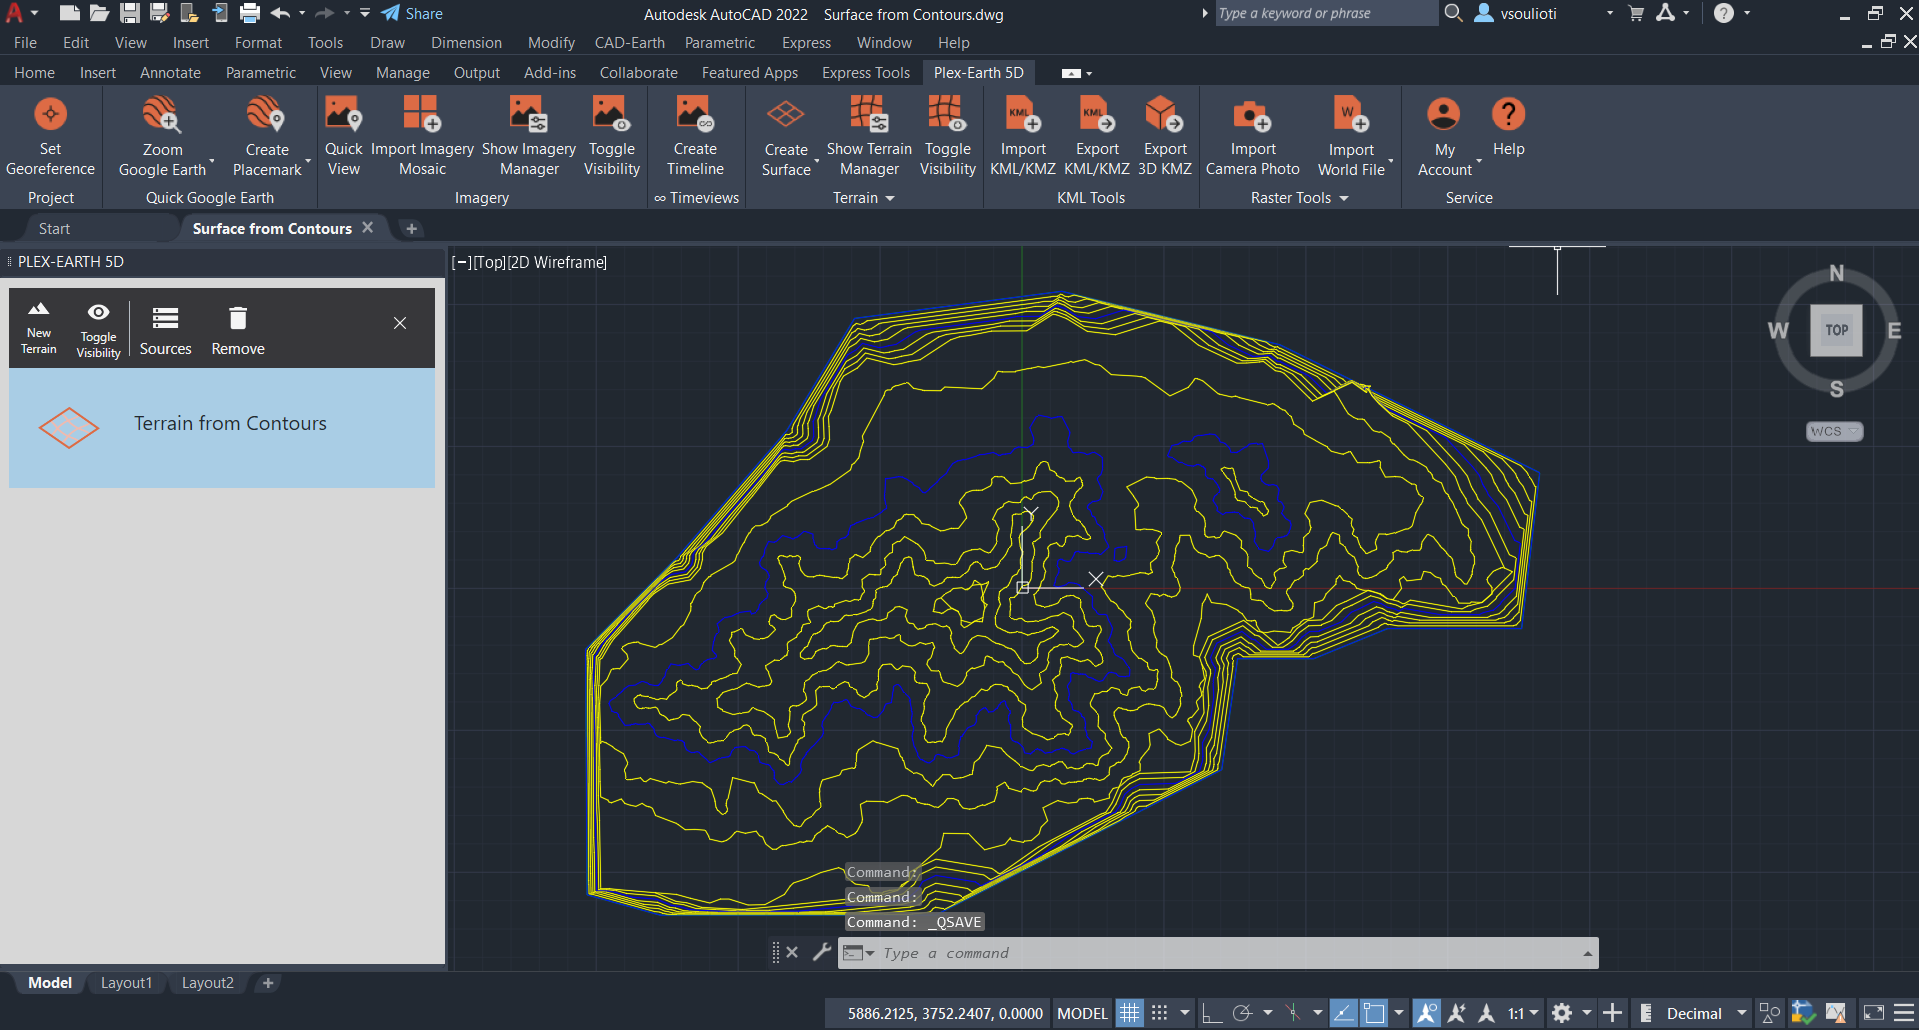
This is where the magic happens. Once your points are clean and organized, you create a surface in AutoCAD Civil 3D. If you're using plain AutoCAD without Civil 3D, you're going to have a much harder time. Civil 3D has dedicated surface tools that handle the triangulation and contouring automatically. Without them, you're basically drawing contour lines by hand, which is possible but painfully slow. I'll focus on the Civil 3D workflow here because that's the industry standard for generating contour maps.
Go to the Prospector tab, right-click on “Surfaces,” and create a new TIN surface. Give it a name that makes sense—“Existing Ground” or “Topo_Site_A”—because in six months, you won't remember what “Surface1” means. Then add your point group as data to the surface definition. The software will automatically triangulate all the points and build the model. You'll see a 3D mesh appear in your drawing. It might look like a bunch of sharp triangles at this stage. That's normal. The triangles are the scaffolding for your contour lines.
Now you have a surface, but it's raw. You need to add breaklines and boundaries. The boundary is critical if your site has irregular edges. Without a boundary, the TIN surface will extrapolate beyond your data points, creating contours in areas where you don't have information. That's misleading and potentially dangerous. Draw a polyline around the perimeter of your surveyed points and add it as an outer boundary. This tells AutoCAD to cut off the surface at that edge. Your contour map will now only show the area you actually surveyed.
One more thing: surface properties. You can adjust the contour style, the elevation ranges, and the smoothing factor. I always turn on smoothing—just a little bit—to remove the jaggedness of the raw triangles. But don't go overboard. Too much smoothing creates rounded contours that hide real topographic features. It's a balance between readability and accuracy. Aim for a contour line that looks like it was drawn by a steady hand, not a seismograph during an earthquake.
Step-by-Step: Creating the TIN Surface in Civil 3D
Let me give you the exact keystrokes, because knowing the theory isn't the same as doing it. Open Civil 3D. In the Toolspace, click on the Prospector tab. Expand “Surfaces,” right-click, and select “Create Surface.” A dialog box pops up. Choose “TIN Surface” as the type. Enter a name like “EG_2025_Survey.” Leave the style as “Contours 2m and 10m (Background)” or whatever is appropriate for your scale. Click OK. The surface is now created, but it has no data.
Right-click on your new surface under the “Definition” section. Select “Add Data” and then “Point Groups.” A list of your point groups appears. Check the one with your cleaned points. Click OK. Watch your drawing. The surface will build, and if you have contours turned on in your style, you'll see them appear. It's a satisfying moment. Seriously, it never gets old. You just turned hundreds of scattered numbers into a readable elevation map.
But wait—look closely. Are there contours crossing the edges where you don't have data? Yes? Then you need the boundary. Draw a closed polyline around your survey limits. Right-click on the surface definition again, select “Add Data,” and choose “Boundary.” Pick the polyline and set the type to “Outer.” Click OK. The surface now trims to that boundary. Any contours outside the boundary disappear. Your map is honest now.
Finally, add breaklines if you have them. Draw polylines along ridges, streams, or pavement edges. Add them to the surface definition as “Breaklines.” The TIN will adjust to follow those lines. I cannot stress enough how important this step is for accurate contour generation. A surface without breaklines is like a story without a plot—technically complete, but meaningful moments are lost.
Adjusting Surface Properties for Better Contours
Your surface is built, but the default contour style might be ugly. Major contours at 5-meter intervals, minor at 1-meter, with thick and thin lines respectively. That's a good starting point, but you need to tailor it to your site. If you're mapping a flat golf course, 1-meter intervals are too tight—the lines will cluster into a black blob. Use 0.1-meter intervals instead. For a mountain site, 10-meter intervals might be better. Right-click on the surface in Prospector, go to “Surface Properties,” and click on the “Contours” tab. Adjust the “Contour Interval” and “Base Elevation” there.
Also pay attention to the display style. I like to use a light tan fill for elevation bands between major contours. It gives the map depth and helps clients visualize the highs and lows without reading every label. To do this, go to “Surface Properties,” select the “Analysis” tab, choose “Elevations” as the analysis type, and run it. Then adjust the colors for each range. It takes 30 seconds and makes you look like a pro. Trust me, stakeholders love colored topographic maps.
Smoothing is another key property. In the same “Contours” tab, you—ll find a “Smoothing” section. I check “Smooth Contours” and set the factor to 0.5 for most natural terrain. For paved or engineered surfaces like a parking lot, I turn smoothing off because I want sharp edges. There's no universal setting. You have to look at your data and decide. If your contours look like a spiderweb, reduce smoothing or add more breaklines. If they look like they were drawn by a drunk robot, increase smoothing or check for bad points.
One final tweak: contour labels. You need labels on the major contours at least, or the map is useless. Go to the “Labels” tab in Surface Properties and create a label style that includes elevation text centered on the contour line. Place them at regular intervals across the map. I usually set a label frequency of every 50 feet along the line for a sheet size of 24x36 inches. Test it. Too many labels look cluttered; too few look empty. Find the Goldilocks zone.
Generating the Contour Lines from the Surface
At this point, your surface contains the contour information, but you may want to extract the contour lines as separate drawing objects. This is useful if you need to edit individual contour lines, send them to a client who doesn't have Civil 3D, or use them in a different software. The command is “Extract Objects from Surface.” You can find it in the Surface ribbon tab. Click it, and a dialog box asks what you want to extract. Check “Contours.” You can choose major, minor, or both. Click OK, and AutoCAD creates 3D polylines that follow your surface contours.
These extracted polylines are now independent of the surface. You can move them, stretch them, or even delete them without affecting the underlying TIN. This is dangerous but powerful. I use extraction when I need to manually correct a contour line that crosses a building footprint or a rock face. You can't edit a surface contour directly—you have to fix the surface and rebuild. But with extracted polylines, you can just grab the line and drag it. Use this trick sparingly, and always keep the original surface version as a reference.
If you're working in plain AutoCAD (without Civil 3D), you can still generate a contour map using third-party tools or manual interpolation. Some people use the “3D Analyst” tools from GIS software and import the result as DXF. Others draw contours by hand using the “Spline” command, connecting points of equal elevation they estimate visually. Honestly, this is torture. I have done it for small sites, and it took three hours for a single acre. If you do topography regularly, invest in Civil 3D or a similar tool. The time savings alone pays for the license.
Another approach is using the “Drape” command to project shapes onto a surface, but that's more for visualization than actual contouring. Stick to the surface extraction method. It's the fastest, most accurate way to get clean, editable contour lines from your point data. And once you have those polylines, you can hatch them, export them to PDF, or plot them on a plan set. It works.
The 'Add Contour Labels' Command and Label Styles
Labels make the map readable. Without labels, a contour map is just squiggly lines that could mean anything. In Civil 3D, you use the “Add Contour Labels” command. Select a major contour line, and the label appears at the point you clicked. But you can do better. You can set up automatic label placement along every major contour at a specified interval. Go to the “Annotate” tab, find “Add Labels,” and choose “Surface” and “Contour – Multiple.” Then pick the surface and set the label frequency. The software places labels along the lines at even distances.
I customize my label style to include only the elevation number, in a medium font, rotated to align with the contour direction. I avoid boxes or backgrounds because they cover the line. The elevation text should sit on a small gap in the contour line. This is called a “masked” label, and it's standard practice. If you stack labels on top of the line without a mask, the text obscures the line and creates confusion. Set up a label style that introduces a text mask or a line gap. It's a small detail, but it's the difference between an amateur drawing and a professional one.
What about minor contours? I rarely label them. The map gets too busy. I only label major contours (the thicker lines at even intervals like 100, 200, 300 feet) and let the minor contours fill the gaps visually. If someone needs to know the elevation between majors, they can interpolate. If the site is extremely flat, I might label every other minor contour, but that's an exception. Keep it clean. Less noise means better communication.
One last label tip: use the “Flip Label” command if a label reads upside down. Contours run in loops, and sometimes the annotation aligns backwards. Right-click on the label and choose “Flip.” It rotates 180 degrees. Your neck will thank you for not having to read upside down text on every sheet. Small quality-of-life improvements add up.
Manual Tweaks: When Automation Isn't Enough
Let's be real. Automated contouring is great, but it's not perfect. I've never seen a surface that didn't need at least a few manual adjustments. The most common problem is contour lines that cross through a building footprint. The surface doesn't know a building is there because point data was shot at ground level around the foundation. The surface triangulates across the building roof as if it's a hill. You need to add a breakline around the building footprint or manually clip the contours.
Another issue: contour lines that run into the edge of the drawing and stop abruptly. This looks terrible. Add a boundary that follows the property line or the paper edge, and the contours will trim cleanly. If you extracted polylines, you can manually extend or trim them to the edge. Use the “Trim” and “Extend” commands. Just be consistent. Don't have some contours extending outside the boundary while others stop inside. That screams “careless.”
Sometimes you'll see a contour line doing a tiny loop around a single high point. That's called a “pimple” contour. It's usually caused by a single noisy data point. You can either delete that point from the surface definition and rebuild, or you can manually drag the extracted polyline to eliminate the loop. I prefer to fix the source data because it keeps the surface accurate. But if I'm on a deadline and the loop is small, I'll edit the polyline. Just don't forget to note that the fix is cosmetic. Document changes.
Finally, check your contour map against known ground truth. If you know there's a drainage ditch that runs northeast to southwest, make sure your contours dip slightly in that direction. If they don't, you missed a breakline. Go back, add the ditch as a breakline, and rebuild. Your contour generation is iterative. It's not a one-click process. Expect to cycle through data cleaning, surface building, and contour review at least three times before you're satisfied. That's normal.
Common Questions About Generating a Contour Map from Point Data in AutoCAD
Can I generate contour maps in plain AutoCAD without Civil 3D?
Yes, but it's painful. Plain AutoCAD doesn't have TIN surface tools. You would need to use manual interpolation or third-party add-ons like AutoMap or Carlson Software. You can also create a 3D mesh from points using the “3DMESH” command, but that doesn't produce true contour lines. For professional topographic mapping, Civil 3D is the standard. If you can't get a license, export your point data to a GIS program like QGIS, create contours there, and import the DXF into AutoCAD. That's a workaround.
How do I fix jagged or noisy contour lines?
Jagged contours usually mean your TIN surface has too many small triangles. This comes from dense, noisy point data or missing breaklines. First, try adding breaklines along natural features. Second, increase the smoothing factor in Surface