
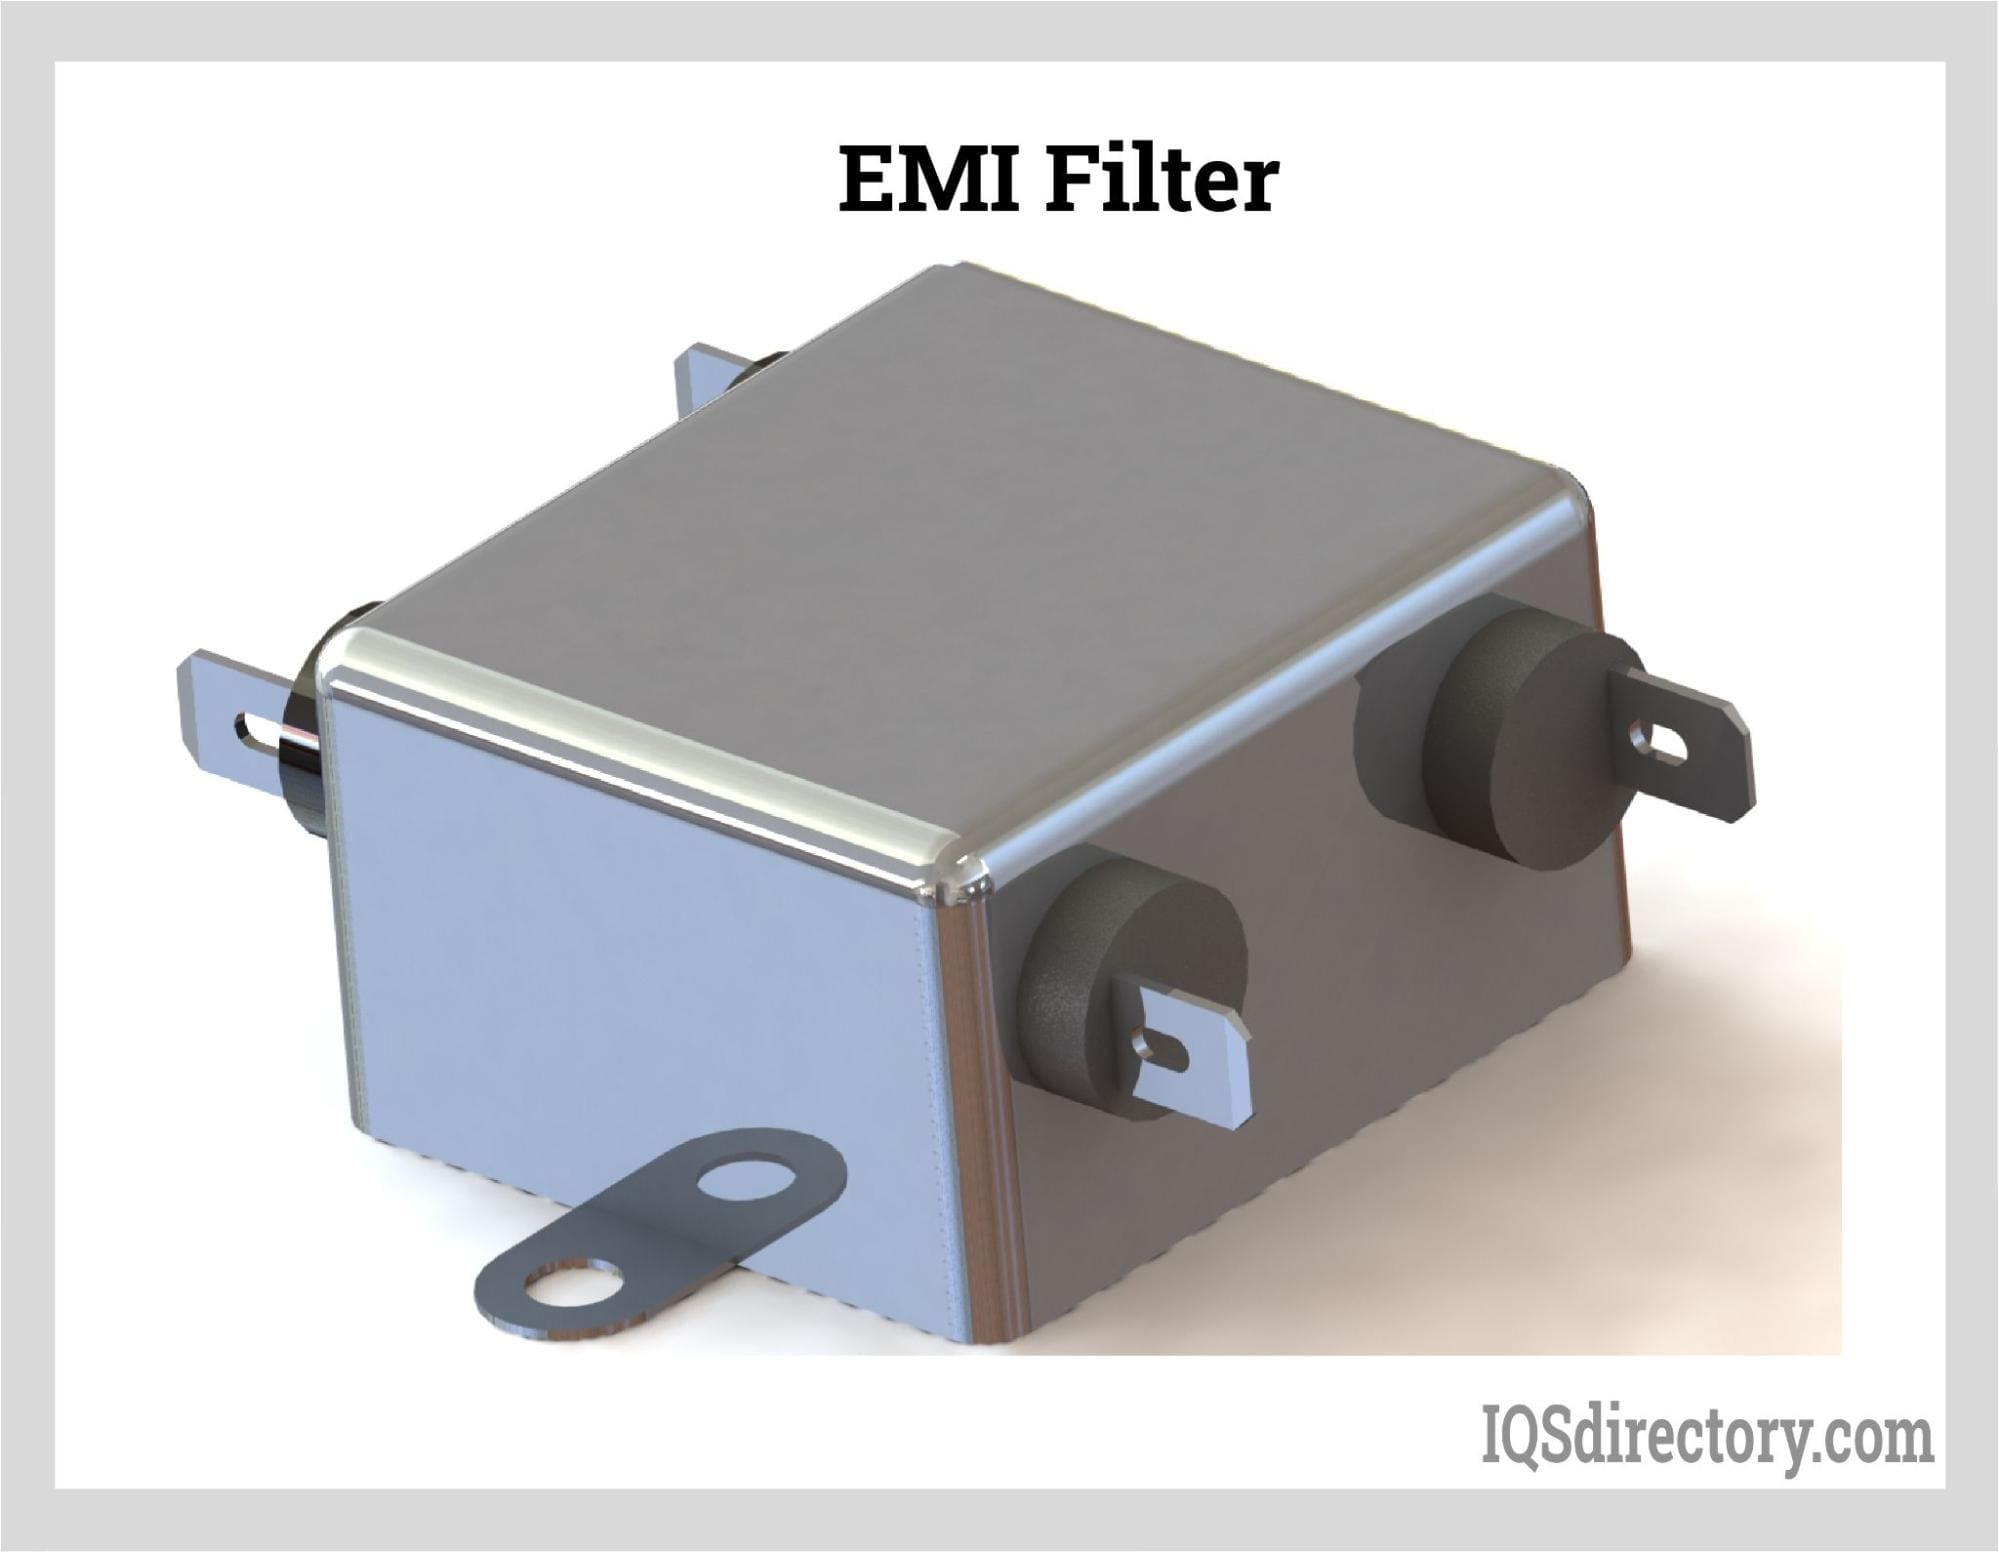
Simple Methods to Test Your EMI Filter Performance
You just finished a prototype, powered it up, and... nothing. Or worse, it works but your radio picks up a hum, your oscilloscope shows garbage, and that FCC certification deadline is breathing down your neck. That's when you need simple methods to test your EMI filter performance. Honestly? Most engineers overthink this. They reach for expensive gear, get lost in S-parameters, and forget the fundamentals. I've been doing this for over a decade, and I can tell you—you don't need a million-dollar lab to know if your filter is garbage or gold.
Let's cut the crap. A simple method to test your EMI filter performance starts with understanding what the filter is supposed to do: kill noise. Not just any noise—specific noise. Conducted emissions, common mode current, differential mode ripple. If you can't measure that, you're guessing. And guessing in EMC is expensive. So grab a spectrum analyzer, a basic LISN (or a makeshift one), and let's get dirty.
I've seen engineers slap a random ferrite on a cable and call it a day. That's not testing. That's hope. Testing means you have a baseline, a measurement, and a pass/fail criteria. The good news? You can do it with gear that fits in a backpack. The bad news? Most people skip the boring part—the setup. Skipping setup is like building a house on a swamp. It looks fine until the ground shifts.
The Bare Minimum Tool: A Spectrum Analyzer and a LISN
You cannot test an EMI filter properly without a Line Impedance Stabilization Network. Period. The LISN does two critical things: it provides a known impedance (usually 50 ohms) across the frequency range of interest, and it isolates the measurement port from the power line noise. Without it, your readings are lies. Simple methods to test your EMI filter performance always start with a LISN. It's the foundation.
Now, let's talk about the spectrum analyzer. You don't need a Keysight UXA that costs more than your car. A decent USB spectrum analyzer like a TinySA or a SignalHound will get you 90% of the way. The key is bandwidth and dynamic range. You need to see from 150 kHz up to at least 30 MHz for conducted emissions, and maybe up to 300 MHz for radiated. Most cheap analyzers can do that. It's not a big deal.
Here's the step-by-step for a basic test:
- Connect your LISN between the power source and the equipment under test (EUT). - Set your spectrum analyzer to measure from 150 kHz to 30 MHz with a resolution bandwidth of 9 kHz or 10 kHz. - Connect the analyzer's input to the LISN's RF output port using a short, shielded cable. - Take a baseline measurement with the filter removed or bypassed. - Insert the filter and take a second measurement. - Subtract the two to see your actual insertion loss.
That's it. Seriously. If you see a 40 dB drop at your switching frequency, you're golden. If you see a 3 dB drop or, worse, a gain, you have a problem. EMI filter performance isn't magic—it's physics. And physics can be measured.
Why a LISN is Non-Negotiable (and How to DIY)
I know what you're thinking. “But I don't have a LISN. Can I just use a scope probe and a resistor?” No. No, you cannot. Look, I get it. LISNs are boring and they cost a few hundred bucks. But the impedance of the AC mains varies wildly depending on the building, the time of day, and what appliances are running. Plug your filter into a wall outlet, measure it at 10 AM, then measure again at 6 PM when the AC kicks on—the results will be completely different. A LISN stabilizes that impedance so your measurements are repeatable. Repeatability is the entire point of testing.
If you absolutely must DIY, you can build a basic 50 µH LISN with a few components. The schematic is widely available. But honestly? Buy one. The time you waste chasing impedance variations will cost you more than the LISN itself. A used CISPR 16-1-2 compliant LISN is a solid investment. Even a simple two-line LISN for DC-DC converters works wonders. The point is to have a known, stable 50 ohm path.
I once had a client who “tested” his filter by measuring voltage ripple with a scope probe directly on the output. He was proud of a 20 mV ripple. Then we put his board in a real test with a LISN, and it failed by 15 dB. Why? Because his scope measurement ignored common mode noise entirely. The filter was only filtering differential mode. Simple methods to test your EMI filter performance must include both common and differential mode. A LISN, properly used, gives you that separation.
Reading the Noise Floor: What “Quiet” Actually Looks Like
One of the most common mistakes I see is engineers thinking a flat line on the spectrum analyzer means it's working. Not true. A flat line can mean your analyzer's noise floor is hiding the real emissions. You need to understand the noise floor of your measurement system. It's a big deal.
Run a measurement with the LISN terminated into a 50 ohm load (no EUT connected). That's your system noise floor. It should be roughly -100 dBm or lower for a decent setup. Now connect your EUT without the filter. You'll see spikes and broadband noise. Good. Then add the filter. The noise should drop toward that system noise floor. If it doesn't, either the filter isn't working or the noise is coupling around the filter through parasitic paths.
Look for areas where the noise actually increases after adding the filter. Yes, it happens. Poorly designed EMI filters can cause resonances that amplify noise at certain frequencies. A simple ferrite bead on a power line can create a parallel resonance with the input capacitance and make things worse. I've seen it a hundred times. The fix is usually damping or changing the component values. Testing shows you the truth.
Interpreting Your Test Results Without Getting a Headache
So you have your plots. Two traces: one without the filter, one with it. Now what? You need to look at three things: insertion loss across the band, where the worst-case emissions are, and whether the filter’s self-resonance is killing you. Simple methods to test your EMI filter performance are useless if you can't read the results.
First, calculate the insertion loss at the frequency of your switching noise. For a buck converter at 500 kHz, that's your target. A good filter should give you at least 40 dB of attenuation at that frequency. Less than 20 dB means you're likely to fail radiated testing. Remember, conducted emissions translate to radiated emissions through the cables acting as antennas.
Second, look at the high-frequency roll-off. Does the filter maintain attenuation above 10 MHz? Many LC filters start to lose effectiveness above a few MHz due to parasitic capacitance in the inductor. If you see the attenuation curve flattening or rising again above 10 MHz, you have a common mode choke problem or inadequate Y-capacitor placement.
Third, check for resonances. A sharp peak in the filter’s passband (or even at the output) can spell disaster. You might measure great attenuation at 500 kHz but then see oscillation at 2 MHz when the load changes. That oscillation is noise. It will fail your test. The only way to catch this is to sweep the filter under actual load conditions, not just with a resistive dummy load. A dynamic load is better.
Common Mode vs. Differential Mode: The Showdown
Here's where most people get lost. Your EMI filter has to handle two types of noise: differential mode (line-to-line) and common mode (line-to-ground). A simple LC filter might handle differential mode well, but common mode needs a different beast—usually a common mode choke and Y-capacitors.
How do you test each separately? For differential mode, you can use a differential probe on the output while the input is fed through a LISN. But a simpler method is to look at the line-to-line noise on the spectrum analyzer with the LISN’s RF output connected. Most LISNs have a selection switch for either line 1 or line 2. Measure both lines. If the noise is similar on both lines and appears at the fundamental frequency and its harmonics, it's mainly differential mode. If the noise is identical in amplitude and phase on both lines, it's common mode.
A quick test: add a ferrite core around both wires (line and neutral) together. If the noise drops dramatically, it's common mode. If it barely changes, it's differential mode. Seriously, this trick has saved me hours of troubleshooting. Then you know which part of the filter needs work. If it's common mode, focus on the choke and Y-caps. If it's differential mode, look at the X-caps and the differential inductor.
I once worked on a power supply that had a beautiful 60 dB differential mode filter but failed emissions miserably. Turns out, the common mode choke was saturating from the DC current imbalance, reducing its inductance. The test showed the filter working great at low load but failing at full load. Moral of the story: always test your filter at the worst-case operating current, not just at idle. Testing EMI filter performance under load is non-negotiable.
A Quick Troubleshooting Checklist for Failed Tests
If your filter fails, don't panic. Start here:
- Check your grounding. A floating filter is a useless filter. Ensure the filter case is bonded to the chassis with a low-impedance connection. Star washers are your friend. - Look at component placement. An inductor placed too close to a high-speed trace can couple noise around the filter. Move it. Or add a shield. - Verify the capacitor ratings. X-capacitors can self-resonate. Use capacitors with low ESR and ESL, and parallel multiple caps to shift the resonance higher. - Check for DC bias effects. Ceramic capacitors lose capacitance as the DC voltage rises. Your 10 µF cap might be 2 µF at the operating voltage. Use an impedance analyzer, or at least check the datasheet curve. - Inspect the common mode choke. Is it saturating? The core material might not be right for the frequency. Ferrites for 100 kHz are different from ferrites for 10 MHz. - Add a damping network. A small resistor in series with a capacitor across the filter input can kill resonances.
This list catches 80% of filter failures. It's not rocket science. It's just methodical troubleshooting. The simple methods to test your EMI filter performance I described will point you to the right item on this list.
Deeper Dive: Testing Insertion Loss Without a Network Analyzer
You don't have a network analyzer? Fine. You can measure insertion loss with a signal generator, an oscilloscope, and a lot of patience. Or, even better, use a tracking generator if your spectrum analyzer has one. Most modern cheap spectrum analyzers have a TG output. If not, a simple function generator with a 50 ohm output will work.
Here's how: connect the signal generator to the input of the filter through a 50 ohm resistor. Connect another 50 ohm resistor from the filter output to ground. Now measure the voltage at the input and at the output with a scope. The ratio is the insertion loss. It's crude, but it works for a quick sanity check. The real-world performance will vary with load impedance, but this gives you a ballpark. And in many cases, a ballpark is all you need to see if the filter is doing its job or if it's a paperweight.
Don't forget to measure the filter's behavior at your specific switching frequency. If you're designing a 200 kHz converter, you don't care about 10 MHz that much. Measure at 200 kHz, 400 kHz, 600 kHz. Those are your problem areas. A filter that performs well at 10 MHz but poorly at 200 kHz is a filter designed for a different application. Simple methods to test your EMI filter performance must be frequency-targeted.
The Limits of Simple Testing (When to Call in the Big Guns)
Let's be honest. Simple methods won't catch everything. You can't measure radiated emissions with a spectrum analyzer and a wire. You won't see near-field coupling on a scope probe. And you definitely can't guarantee compliance with CISPR 25 or MIL-STD-461 using a TinySA in your garage. But that's okay. Simple testing is for catching gross failures and verifying design iterations before you send the board to a $300/hour test lab.
When do you need a real setup? When you're chasing marginal failures. If your filter shows 35 dB of attenuation but you need 40 dB, simple methods might not tell you where that missing 5 dB went. You might need an impedance analyzer to measure the filter's input impedance. You might need a gigahertz transverse electromagnetic (GTEM) cell for radiated pre-compliance. But that's the advanced course.
For the 90% of cases, a LISN, a spectrum analyzer, and a methodical approach are all you need. EMI filter performance testing doesn't have to be a black art. It's a repeatable process. And the more you do it, the faster you get at spotting the noise signatures that scream “bad filter.”
Common Questions About Simple Methods to Test Your EMI Filter Performance
How often should I test my EMI filter during development?
Every major revision. Every time you change the PCB layout, the inductor, the capacitors, or even the enclosure. A filter that works on a breadboard can fail on a production PCB due to parasitic capacitance. Test early, test often. A 10-minute measurement can save you a 6-week redesign.
Can I test an EMI filter with just an oscilloscope?
Sort of, but it's risky. An oscilloscope shows you time-domain ripple, but it doesn't show you the frequency content accurately unless you use an FFT function. Even then, the dynamic range of a typical scope is about 8 bits, which is not enough to see a 40 dB reduction. Use a spectrum analyzer. It's the right tool for the job.
What is the most common mistake in simple EMI filter testing?
Not testing under actual load conditions. A filter that looks perfect with a dummy resistive load may behave completely differently with a switching converter as the load. The converter's input impedance interacts with the filter's output impedance, and you can get instability or oscillation. Always test with the real load, or at least a dynamic load that mimics the converter's input current profile.
Do I need an anechoic chamber to test my filter?
No, not for conducted emissions testing. Conducted emissions are measured on the power lines, not through the air. You can do that on a bench with a LISN and a spectrum analyzer. You only need a chamber for radiated testing, which is a different beast. Focus on conducted first; it captures the majority of filter performance issues.
My filter test shows attenuation, but my product still fails EMC. What gives?
You're likely testing only the power port, but the noise is coupling through other paths. Check for noise on the signal ports, the enclosure seams, and the cable shields. A good power line filter can't fix a poorly shielded cable. Simple methods to test your EMI filter performance on the power line are just one piece of the puzzle. Do a full system scan with a near-field probe to find the real culprit.
That's the real-world approach. No magic, just methodical testing.