
Troubleshooting Your Laptop When the Charging LED Stays Red
You plug in your laptop, heave a sigh of relief, and glance at the little light. It’s red. Still red. That same angry red dot that was staring at you an hour ago. I’ve seen that look before—the mix of dread and frustration. Honestly? It’s usually not as bad as it looks. After spending over a decade tearing these machines apart, I can tell you that a stubborn charging LED stays red for a handful of predictable reasons. We’re going to walk through every single one.
But first, let’s get one thing straight. That red light is a symptom, not a diagnosis. It could mean your battery is dead. It could mean your charger is lying to you. Or it could mean a tiny capacitor on the motherboard has decided to retire early. I know which one you’re hoping for. Let's start with the simple stuff before we grab the screwdrivers.
Seriously. Do not open the case yet. I’ve seen perfectly good laptops turned into parts donors because someone got trigger-happy with a spudger. Troubleshooting your laptop when the charging LED stays red is a process of elimination. It's like a detective game, except the suspects are made of silicon and copper.
Look—this happens to everyone. From cheap Chromebooks to expensive gaming rigs. The red light is the laptop's way of saying, "I'm getting power, but I'm not happy about it." Our job is to figure out why.
Why That Red Light Isn't Just a Pretty Color: Understanding the Basics of the Charging LED
Not all red lights are created equal. Your laptop's manufacturer decided on a specific code—a secret handshake between the battery and the power management chip. Some red lights mean "battery critically low." Others mean "charging error." And some, believe it or not, are completely normal until the battery hits a certain percentage. So the first step in troubleshooting your laptop when the charging LED stays red is to check the manual. I know, I know. Nobody reads the manual. But a quick Google search for your model number plus "LED indicator colors" can save you three hours of panic.
That said, if the light has been red for more than two hours of continuous charging, something is off. The battery management system (BMS) inside the battery pack is a finicky little controller. It monitors voltage, temperature, and current. If any of those numbers looks weird, it slams the brakes and the light stays red. This is a safety feature. Annoying? Yes. But better than a lithium-ion fire in your lap.
Here's a fun fact: many laptops use a dual-color LED—orange for charging, green for full. But a solid red? That often indicates a fault condition. It's a big deal. The system is basically telling you it can't complete the charge cycle. Don't ignore it. Ignoring a persistent red light can lead to a swollen battery or, in worst-case scenarios, a dead charging port that requires soldering.
I once had a client who used his laptop with a red charging light for three months. He thought it was just a "design feature." The battery eventually swelled so much it cracked the trackpad. Expensive lesson. So let's respect the red light. It knows things we don't.
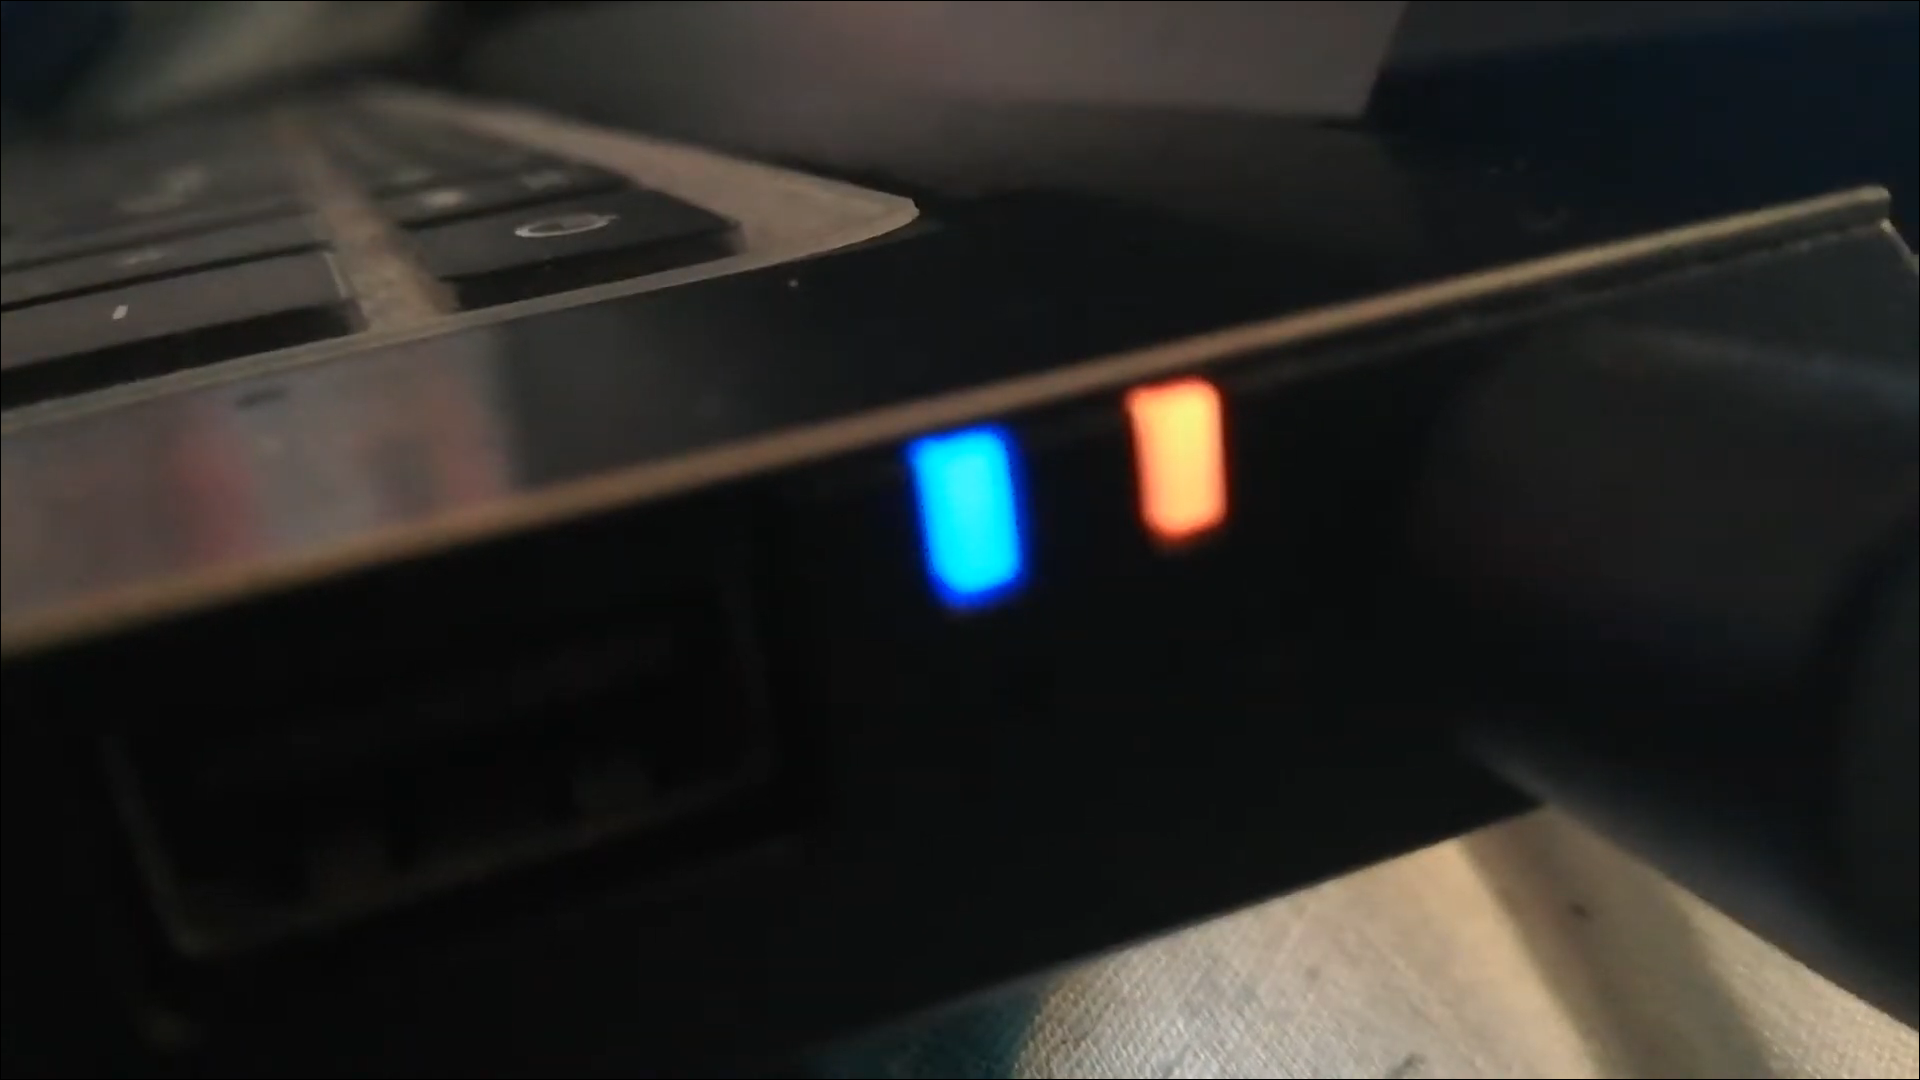
Red vs. Orange vs. Blinking: Decoding the Language of Lights
There is a difference. A blinking red light is almost always a hardware fault. A steady red light could just be your battery at 2% and working hard to come back. Orange or amber usually means it's actively charging. Green means you're good. But when that charging LED stays red and refuses to change, you need to narrow down the possibilities. If it's blinking, check your battery connection first. If it's steady, check the power adapter.
I tell my students: treat the LED like a traffic light. Red means stop and investigate. It doesn't mean "throw away the laptop." It means pull over and pop the hood. The number of people who see a red light and immediately buy a new machine is staggering. Usually, it's a $20 cable or a $60 battery. Do the math.
Sometimes the LED is just lying to you. I've seen faulty indicator circuits where the light stays red even though the battery is fully charged. Unplug the charger, turn the laptop on, and see if the battery percentage changes. If it works fine on battery power but the light stays red when plugged in, you might have a failed LED or a broken trace on the motherboard. Rare, but possible. We'll get to that.
Honestly? The blinking patterns are more important than the color. A slow blink usually means charging. A fast blink usually means error. I've repaired machines where a single blink, pause, then three blinks pointed to a dead cell in the battery pack. That took some serious googling, but it saved the client $300 on a logic board replacement. Pay attention to the rhythm.
The First Rule: Don't Panic and Don't Smash It
I mean it. The worst thing you can do when the laptop won't charge and the light is red is to jam the connector in harder. That's how ports break. Or use a different charger that "fits." Voltage mismatches can fry the charging IC instantly. I've seen a 19V charger pushed into a 12V laptop. The smoke was impressive. Not in a good way.
Take a deep breath. Get a flashlight. Check the most obvious thing first: is the power brick actually plugged into the wall? You'd be surprised. I once spent twenty minutes troubleshooting a red light only to find the power strip switch was off. We've all been there. It's embarrassing, but it happens.
The second rule: eliminate variables. If possible, borrow a known-good charger from a friend with the same laptop model. If the light turns green with their charger, your charger is the problem. If it stays red, the issue is in the laptop itself. This single test eliminates 50% of the possibilities. It's that simple.
Third rule: don't let the panic make you pull out the motherboard before checking the battery connector. I've seen people disassemble a perfectly good machine because they didn't realize the battery was just unseated. The red light can stay on if the battery is disconnected but the charger is plugged in. That's normal on some models. Know your machine.
The Obvious Culprit: Is Your Power Adapter Actually Working?
Let's talk about the power adapter. It's the most common failure point, and it's the easiest to fix. The adapter is a brick that converts wall AC to DC voltage. If it fails, your laptop gets nothing, and the charging LED stays red because it detects a connection but no stable voltage. But how do you know if the adapter is the problem? Look at the other LED. Many power bricks have their own little light. If that light is off, your adapter is dead. If it's flickering, it's dying.
Cables are the weakest link. The thin wire that runs from the brick to the laptop takes a beating. Pets chew it. Chairs roll over it. It gets bent at sharp angles. I've cut open dozens of these cables to find a single broken copper strand inside. The wire looks fine on the outside, but the internal connection is intermittent. When that happens, the laptop sees voltage drop, and the red light comes on to protect the battery.
Here's a quick test: feel the adapter brick while it's plugged in. If it's stone cold after 10 minutes, it's not working. If it's hot, it's probably working but maybe overheating. If it's warm, that's normal. Now wiggle the cable near the connector. If the red charging light flickers or goes out, you've found the broken wire. Replace the cable (or the entire adapter) and you're done.
Another cheap trick: measure the voltage at the tip. If you have a multimeter, set it to DC voltage, and touch the probes to the barrel connector's center pin and outer sleeve. You should see a voltage close to what's printed on the brick (usually 19V, 12V, or 9V). If you get 0V or a wildly fluctuating number, the adapter is toast. No voltage means no charging. Period.
The Barrel Plug Dance and the USB-C Conundrum
Old-school barrel plugs are simple. A pin in the center, a sleeve on the outside. But USB-C charging adds a layer of complexity. USB-C is smart. It negotiates voltage with the laptop before sending power. If the negotiation fails, the laptop won't charge, and the charging LED stays red. I've seen cheap third-party USB-C chargers that simply refuse to talk to certain laptops. It's not a fault—it's a compatibility issue. Use the original charger or a high-quality certified one.
USB-C ports also get dirty. Lint and pocket fuzz can block the connection. Get a wooden toothpick (not metal!) and gently clean the port. You'd be shocked at how much crud comes out. I once cleaned a USB-C port that had a small piece of popcorn kernel stuck in it. The laptop hadn't charged in two weeks. After cleaning, it was fine. Popcorn. I couldn't make this up.
Another USB-C issue: the cable itself. All USB-C cables are not equal. Some are rated for 60W, some for 100W. If your laptop needs 100W and you're using a 60W cable, it will either charge slowly or not at all. The red light will stay on because the system detects a power source but can't draw enough current. Check the cable specs. It's printed on the connector often.
Lastly, if you're using a docking station or a hub, bypass it temporarily. Plug the charger directly into the laptop. Docks can sometimes miscommunicate or draw power themselves, leaving your laptop underfed. Direct connection is the gold standard for this test.
How to Test a Power Adapter Without Frying Your Multimeter
I said earlier to measure voltage. Let me be more specific. Set your multimeter to "DC Voltage" at a range higher than your adapter's output (e.g., 20V or 200V). Insert the black probe into the COM port and the red probe into the V/Ω port. Touch the red probe to the center pin of the barrel connector. Touch the black probe to the outer sleeve. Read the display. If you get a stable number within 0.5V of the printed spec, the adapter is fine.
If you get zero, try the probes in reverse. Some adapters have negative center pins (unusual but possible). Still zero? The adapter is dead. Don't bother tapping it or shaking it. Just buy a new one. I've tried the "hit it with a hammer" trick. It works about 1% of the time. Not worth the risk.
For USB-C adapters, you can't easily measure voltage with a standard multimeter because the pins are tiny. You need a USB-C breakout board or a dedicated tester. If you don't have those, borrow a known-good adapter from a friend. It's the only reliable test. Or look for a "PD tester" on Amazon—they're about $15 and show you the exact voltage and current being delivered.
One more thing: check the power cord from the wall to the brick. These are often detachable. If the brick's own LED is off, try a different figure-eight or C5 cord. Sometimes the internal fuse in the brick blows, but often it's just the cord. Cheap fix.
Battery Blues: When the Cell Itself Is the Problem
So you've confirmed the adapter is good. You plugged it in, the charging LED stays red, and the laptop doesn't charge. The next suspect is the battery. Lithium-ion batteries have a limited lifespan—usually 300-500 charge cycles. After that, the internal resistance increases, and the cells can't hold a charge the same way. The battery's internal BMS will detect a fault and refuse to charge, leaving the red light on.
But here's the tricky part: a completely dead battery can cause the same symptom. If the battery voltage drops below a certain threshold (usually around 2.5V per cell), the BMS goes into safe mode. It won't accept a charge because it's afraid of fire. This is called "deep discharge." Sometimes you can wake it up. Sometimes you can't. It depends on the battery chemistry and the BMS programming.
How do you know if the battery is deep discharged? Unplug the charger, try to turn on the laptop. If nothing happens—no lights, no fans, no boot—the battery is likely completely dead. Plug the charger back in. If the charging light is red, the laptop is trying to charge a battery that won't cooperate. The fix might be a new battery. But before you buy one, try the "jumpstart" trick.
I should warn you: messing with lithium batteries is dangerous. If the battery is swollen, hot, or leaking, stop immediately. Seriously. Do not poke it. Do not puncture it. Dispose of it properly. A swollen battery is a fire waiting to happen. The red charging light in that case is a warning you should heed.
The Puffy Battery: A Folding Chair Emergency
If your trackpad is getting stiff, or the bottom case is bulging, you have a puffy battery. This is the most urgent problem in troubleshooting your laptop when the charging LED stays red. A swollen battery is a chemical time bomb. It needs to be removed and replaced ASAP. Do not charge it. Do not use the laptop. The red light is probably on because the BMS detected the swelling (some have pressure sensors) and disabled charging.
Removing a swollen battery is delicate. Use plastic tools, not metal. Disconnect the main battery connector first, then carefully pry the battery out. If it's really swollen, it might be glued in. Go slow. Do not bend the battery. Once it's out, recycle it at a certified e-waste center. Do not throw it in the trash. It can cause fires in garbage trucks.
After the battery is out, plug the charger in. If the laptop turns on without the battery, you've found the problem. The laptop won't charge because the battery is defective. A new battery will fix it. Make sure you buy a genuine or high-quality third-party battery. Cheap batteries have cheap BMS chips that can cause the same red light problem again in a few months.
Can you use the laptop without a battery? Yes, as long as the power adapter is good. It will run directly off the charger. But any power flicker will shut it down, and you'll lose unsaved work. It's a temporary fix until your new battery arrives.
The Deep Discharge Trick: Zapping a Dead Cell Back to Life
Some batteries can be revived from a deep discharge, but it's not guaranteed. If the battery voltage is between 2.0V and 2.5V per cell, you might be able to jump-start it with a higher-voltage charger for a few seconds. I've done this with a variable power supply set to 12V for a 11.1V battery pack. You connect it to the battery terminals (directly, bypassing the BMS) for about 5 seconds. This can wake up the BMS enough to accept a normal charge.
Warning: This is risky. If you don't know what you're doing, you could cause a fire. I don't recommend this for beginners. The safer approach is to leave the laptop plugged in for 24 hours. Sometimes, the BMS will slowly trickle charge a deeply discharged battery if it senses a stable voltage over time. The charging LED stays red during this period, but it might turn green after a day. It's a long shot, but it costs nothing.
Another option: remove the battery, discharge any residual static by pressing the power button for 30 seconds (with the battery out), then reconnect the battery. This resets the BMS on some laptops. It doesn't always work, but it's a free test. I've had success with a few Dell and Lenovo models using this method. No guarantees, though.
Honestly? If the battery is more than three years old, just replace it. Lithium-ion cells degrade with age, even if you don't use them. A three-year-old battery that reads "0%" and causes a red light is probably chemically finished. You can try to revive it, but it won't last long. Save yourself the aggravation and buy a new one.
The Deep-End Troubleshooting: Motherboard, Controller, and the Art of the AC-In Line
We've checked the adapter. We've checked the battery. The charging LED stays red stubbornly. This means the problem is likely on the motherboard. Specifically, the charging circuit. This part gets complicated, but I'll break it down so you don't need an electrical engineering degree. The main component is the charging IC (integrated circuit). It manages the flow of power from the adapter to the battery. If it fails, nothing charges.
Another common failure point is the DC-in jack itself. The physical port where you plug the charger can crack its solder joints over time. This is especially common on laptops that get carried around a lot. The port might look fine, but under a microscope, you'll see hairline fractures in the solder. These fractures cause intermittent connections or high resistance, which triggers the red light.
Static discharge is another killer. A simple electrostatic shock to the port can fry the charging IC. I've seen it happen from a person walking on carpet in winter. The IC is sensitive. If you suspect this, you're looking at a motherboard-level repair. Not a simple fix. It requires soldering with a hot air station and steady hands.
Before you give up and send it to a shop, try one more thing: a hard reset. Unplug the charger. Remove the battery (if possible). Hold the power button down for 30 seconds. This drains all residual charge from the capacitors. Reconnect the battery, plug in the charger, and see if the red light changes. This resets the embedded controller (EC), which handles the charging logic. It works more often than you'd think.
The Charging IC: The Tiny Traffic Cop That Hates Your Guts
The charging IC is a small chip, usually near the DC-in port. It's responsible for negotiating voltage, limiting current, and detecting battery temperature. When it fails, the red charging light becomes permanent. How do you diagnose a bad IC? You need a multimeter and a schematic. Look for a short circuit on the main power rail—often called "PWR_SRC" or "VIN." If the resistance to ground is near zero ohms, the IC is likely shorted.
Replacing a charging IC is not a beginner job. It requires hot air rework, flux, and a steady hand. The chip is often a QFN package with hidden pins under the body. You can easily lift pads or bridge solder. If you're not experienced, take it to a repair shop. Expect to pay around $50-$150 for this repair, depending on your location and the laptop's value.
Sometimes the IC isn't dead; it's just confused. A firmware glitch can cause it to misreport battery status. Updating the laptop's BIOS or EC firmware can fix this. Check the manufacturer's website for a BIOS update. I've seen a simple firmware flash turn a red light to green instantly. It sounds too easy, but it happens. Always check for updates before buying replacement parts.
Another possibility: a burned-out resistor or capacitor near the IC. These tiny components can fail from age or heat. They're cheap to replace, but you need to find the exact one. Visual inspection often reveals a charred or cracked component. Look closely with a bright light. If you see anything brown or blackened, that's your clue.
When to Wave the White Flag and Call a Professional
If you've done all the tests above—adapter, battery, hard reset, port