
Why Your iPhone Photos Look Grainy and How to Fix Them
You know that feeling. You capture what you think is the perfect shot—a beautiful sunset, a candid moment of your kid, a moody cityscape at night. You tap the shutter button, smug with confidence. Then you zoom in. It looks like someone sprinkled coarse sand all over the image. The photo is grainy, noisy, and frankly, a little disappointing. Seriously, it—feels like a betrayal from a thousand-dollar device.
I’ve been a professional photographer and imaging specialist for over a decade. I’ve shot on Hasselblads, Canons, and, yes, countless iPhones. The grainy photo problem isn't a bug; it's a symptom of physics. Your iPhone is a tiny computer with a tiny lens and a tiny sensor. It doesn't have the massive surface area of a full-frame camera to soak up light. So when the light gets scarce, the camera has to work harder. It cranks up the ISO, amplifies the signal, and along with it, amplifies the electronic noise. That noise is the grain you hate.
But here's the good news: this isn't a life sentence. Look, you don't need a degree in optics or a bag full of lenses to fix this. You just need to understand what your iPhone is begging you to do when the lights go down. Ready to reclaim your night shots and indoor flash-free portraits? Let's dive in.
The Real Reason Your iPhone Photos Are Noisy
What is Digital Noise, Anyway?
Digital noise is not the same as film grain. Film grain is physical silver halide crystals; it has a certain organic texture that some artists love. Digital noise is electronic static. It’s what happens when your iPhone's sensor gets confused about what is light and what is just electrical interference. When you shoot in bright sunlight, the sensor gets a strong, clear signal. The signal-to-noise ratio is incredibly high. But in a dimly lit restaurant? The signal is weak. To see anything at all, the iPhone’s processor says, "Okay, let's boost the ISO."
This boost is like turning up the volume on a cheap radio. Yes, you can hear the music, but you also get a ton of hiss and crackle. That hiss is the noise you see as grain. It shows up in the shadows first, and in the darker parts of the sky. Honestly? It's the camera's desperate attempt to not show you a completely black photo. The grain is a compromise you never asked for.
Low Light is the Enemy of a Clean Image
This is the single most important thing to remember: why your iPhone photos look grainy is almost always a direct result of insufficient light. Think about it. The iPhone sensor is physically tiny. It's about the size of your pinky fingernail. Compare that to a professional DSLR sensor, which is the size of a postage stamp. The larger sensor has bigger "pixels" (or photodiodes) that can capture way more photons.
Your iPhone compensates for its small sensor with incredibly smart software. But software can't create light out of nothing. When you shoot at night, the camera automatically opens the shutter for longer, raises the ISO high into the thousands, and processes the data aggressively. The result? A noisy mess. The grain is worst in the shadows because those areas receive the least light, so the noise-to-signal ratio is terrible. It's a big deal, and it's the root cause of 90% of your frustration.
You're Probably Making These Common Mistakes That Create Grain
The Zoom Trap: Digital vs. Optical
Stop it. Just stop zooming in with your fingers on the screen. I see it every day. Someone tries to photograph a stage performer from the back of a concert hall. They pinch to zoom 5x. The result is a pixelated, grainy nightmare. Why? Because the iPhone 15 Pro Max has a 5x optical zoom lens. If you zoom past that, you are using digital zoom.
Digital zoom is the equivalent of taking a photo and then cropping it and enlarging the remaining pixels in a photo editor. You are literally magnifying the noise. You aren't bringing the subject closer; you're just blowing up the noise. If you want a clear shot, you have two options: get closer physically, or take the standard wide shot and crop it later in a proper editing app like Lightroom or Snapseed. Cropping in post gives you more control over the sharpening and noise reduction algorithms. Seriously, trust me on this one.
Forcing the Wrong Exposure
Another huge mistake is tapping to focus on a bright area and expecting the shadows to look fine. Let me give you a scenario. You're taking a picture of a person wearing a black jacket in front of a lit window. You tap on the window to focus. The camera instantly corrects the exposure for that bright window. The window looks great, but your subject becomes a silhouette that is underexposed. When you try to brighten that dark silhouette in the edit, you reveal all the hidden noise.
Your iPhone's histogram (which you can turn on in the settings) is your friend. You want the information to be balanced. For the cleanest image, you actually want to expose to the right—meaning you want the exposure to be slightly bright (without blowing out the highlights). A brighter exposure captures more light signal and less noise. If it's a little too bright, you can easily bring the exposure down in editing without adding noise. If it's too dark, you can't add light without adding grain. It's a one-way street to noise city.
How to Fix Grainy iPhone Photos with the Right Settings
Locking in the Best Exposure
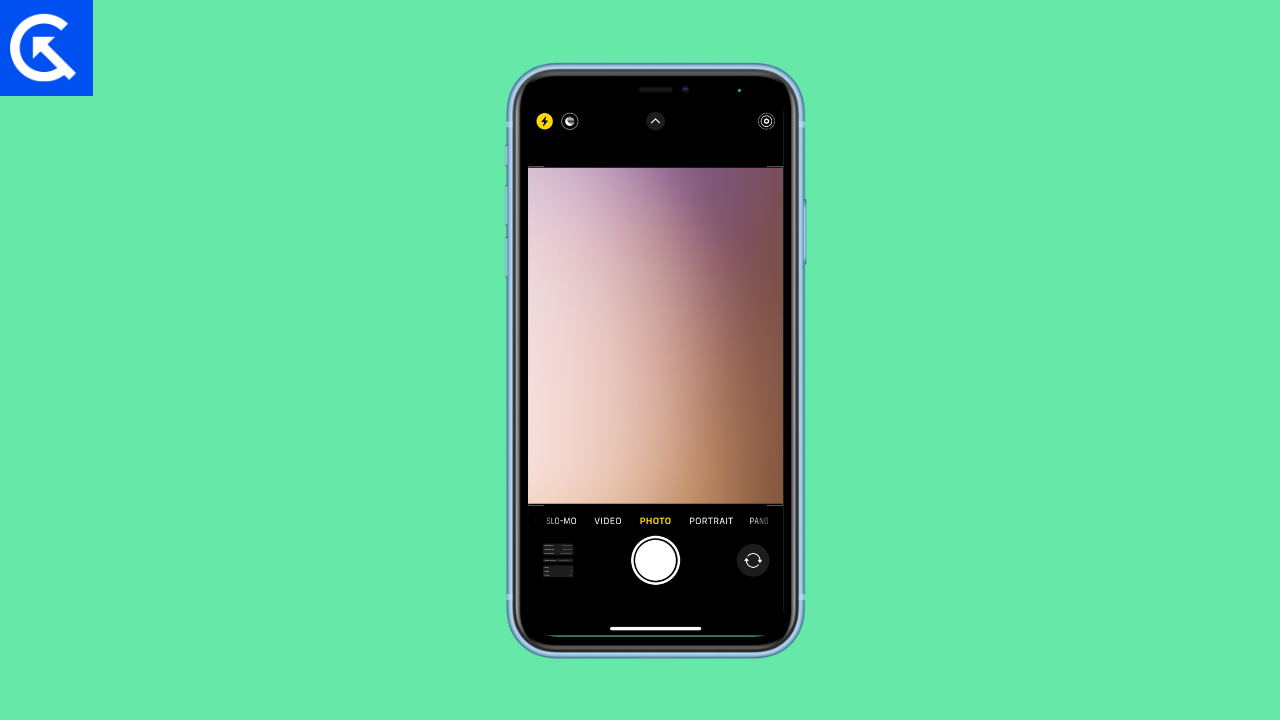
Here’s a step-by-step trick that pros use. You have to take control of the exposure before you take the shot. In the native Camera app, tap on the area of the scene you want to be the focal point. A yellow square appears. Next to it, you'll see a little sun icon. Slide your finger up on that sun icon. This increases the exposure compensation. By sliding that up a notch or two, you are telling the camera to let in more light.
Yes, the preview might look a tiny bit washed out, but you are capturing more data. You are flooding the sensor with signal. That excess signal washes out the noise. Later, in the Photos app, you can tap "Edit" and slightly reduce the exposure and increase the contrast. You will have a much cleaner, sharper image. You're essentially "fixing grainy photos" by preventing them from being born in the first place. It's a simple trick that works wonders.
Using Night Mode Like a Pro
Your iPhone has a secret weapon that most people ignore: Night Mode. You know that little icon that looks like a moon with three lines that appears at the top of the screen? You've seen it. When the camera detects low light, it activates automatically. The problem is that people watch the countdown (3, 5, 10 seconds) and can't hold the phone steady. They move. The result is a blurry, grainy photo because the camera didn't capture enough stable light.
The trick is to force a longer Night Mode exposure and stabilize the phone. If you see the Night Mode icon, tap it. You'll see a slider. Drag it all the way to "Max." This tells the camera to use the longest possible exposure time. Then, you absolutely must brace the phone. Lean against a wall, set it on a table, or use a tiny tripod like the Joby GripTight. Let the camera do its magic for the full 30 seconds. The result will be a photo that looks like it was taken at dusk, with almost zero noise. It's like having a night vision device in your pocket. It's a big deal.
Can You Fix Grainy Photos After You've Taken Them?
Third-Party Apps That Save the Day
Let's face it. Sometimes you don't realize the photo is grainy until you look at it on your computer later. All is not lost. The native Photos app has a noise reduction slider, but it's not very powerful. For real results, you need to turn to specialized apps. These are the heavy hitters:
- Adobe Lightroom Mobile: The premium version has a "Detail" panel with a dedicated noise reduction slider that is far superior to Apple's. It uses AI to distinguish between detail and noise. - Topaz Denoise AI (Desktop/Mobile): This is the industry gold standard. It uses machine learning trained on millions of images to reconstruct lost detail while removing grain. Seriously, it feels like magic. - Snapseed: Google's free app has a "Healing" tool that works well on small patches of noise.
Using these apps, you can select the image, tap on the noise reduction tool, and watch the grain melt away. The trick is to not overdo it. Too much noise reduction turns the photo into a waxy, plastic-looking mess. You want to remove the grain while preserving the skin texture and fine details. You are cleaning the digital static, not melting the photo.
When You Just Need to Accept the Grain
Honestly? Sometimes the grain is part of the aesthetic. There is a big difference between ugly, splotchy digital noise and a coherent, film-like texture. Think about the look of a gritty documentary shot in the 1970s. That's texture. That's mood. If your grainy iPhone photo tells a story of real, low-light emotion, maybe you don't need to fix it.
However, the grain I'm talking about in this article is usually the distracting, mushy kind that ruins details and makes people look like they have sandpaper skin. That kind of grain is a technical flaw. If you can't remove it cleanly, try converting the photo to black and white. Monochrome images are far more forgiving of noise. The grain suddenly looks like film grain, not digital static. It's a creative cheat code that has saved many of my bad photos. Just a thought.
Common Questions About Why Your iPhone Photos Look Grainy and How to Fix Them
Why do my iPhone photos look grainy even in good daylight?
If you see grain in a bright, sunny photo, there is likely a different issue at play. You might be shooting in a raw format (like ProRAW) that hasn't been processed. Or, more commonly, you are using a telephoto lens that is struggling to gather light, even in daylight. The telephoto sensor is smaller than the main wide sensor. Also, check if you have accidentally turned on a filter or a high-contrast mode that is crushing the shadows and revealing noise. Reset your camera settings to default and see if the problem persists.
Does using a lower megapixel setting cause grain?
No, actually, it's the opposite for most phones. In the iPhone 14 Pro and 15 Pro, you have the option to shoot in 12MP or 48MP modes. Shooting in 12MP often results in less noise. This is because the software can "pixel-bin" the data—combining multiple small pixels into one larger virtual pixel. A larger pixel gathers more light, which inherently reduces noise. If you don't need the massive resolution of 48MP for printing or heavy cropping, stick with the standard 12MP mode for cleaner low-light photos.
Will a third-party camera app fix the grain?
Potentially, yes. The native Camera app automatically applies a heavy dose of noise reduction and sharpening, which can sometimes make noise look worse. An app like Halide or ProCamera gives you manual control over ISO and shutter speed. You can manually set a low ISO (like 100 or 200) and a very slow shutter speed. This forces the camera to capture light cleanly. The trade-off is that you need a tripod. Without one, the slow shutter speed will create blur. But if you use a tripod and a third-party app, you can shoot images that are virtually noise-free, even in very low light. It's a game-changer for serious mobile photographers.
30.7m subscribers 156k 15m views 8 years ago provided to youtube by universal music group why · shawn mendes.more The meaning of why is for what cause, reason, or purpose. Used to express surprise or anger: Information and translations of why in the most comprehensive dictionary definitions resource on. You use why with 'not' in questions in order to express your annoyance or anger. Dibintangi caitlin halderman, yesaya abraham, arya vasco. The word why serves as a fundamental tool in language for seeking explanations, expressing surprise, or delving into the reasons behind actions or phenomena. How to use why in a sentence. Definition of why in the definitions.net dictionary. Let's explore the meaning of why, how we use it in different situations, see some why questions examples, and why it's essential to ask questions.
Definition of why in the definitions.net dictionary. How to use why in a sentence. Used to express surprise or anger: (full episode) nonton series indonesia. The meaning of why is for what cause, reason, or purpose. 30.7m subscribers 156k 15m views 8 years ago provided to youtube by universal music group why · shawn mendes.more Let's explore the meaning of why, how we use it in different situations, see some why questions examples, and why it's essential to ask questions. Used to express surprise or anger: Delve into the comprehensive guide for why in the academic glossary. Dibintangi caitlin halderman, yesaya abraham, arya vasco.
Information and translations of why in the most comprehensive dictionary definitions resource on. How to use why in a sentence. Used to express surprise or anger: Dibintangi caitlin halderman, yesaya abraham, arya vasco. (full episode) nonton series indonesia. Delve into the comprehensive guide for why in the academic glossary. The word why serves as a fundamental tool in language for seeking explanations, expressing surprise, or delving into the reasons behind actions or phenomena. 30.7m subscribers 156k 15m views 8 years ago provided to youtube by universal music group why · shawn mendes.more Definition of why in the definitions.net dictionary. Used to express surprise or anger:
Information and translations of why in the most comprehensive dictionary definitions resource on. You use why with 'not' in questions in order to express your annoyance or anger. Let's explore the meaning of why, how we use it in different situations, see some why questions examples, and why it's essential to ask questions. The meaning of why is for what cause, reason, or purpose. Delve into the comprehensive guide for why in the academic glossary. 30.7m subscribers 156k 15m views 8 years ago provided to youtube by universal music group why · shawn mendes.more Definition of why in the definitions.net dictionary. Used to express surprise or anger: The word why serves as a fundamental tool in language for seeking explanations, expressing surprise, or delving into the reasons behind actions or phenomena. (full episode) nonton series indonesia.